Create S3
Create S3 Bucket
In this step, we will create an S3 bucket to store the static content of the website, such as HTML, CSS, and JavaScript files. The S3 bucket will be used to host the website and enable static website hosting in the next steps. The actual file uploads will be covered in the section 6.3. Load Data.
- Search for S3 in the search bar and click on S3.
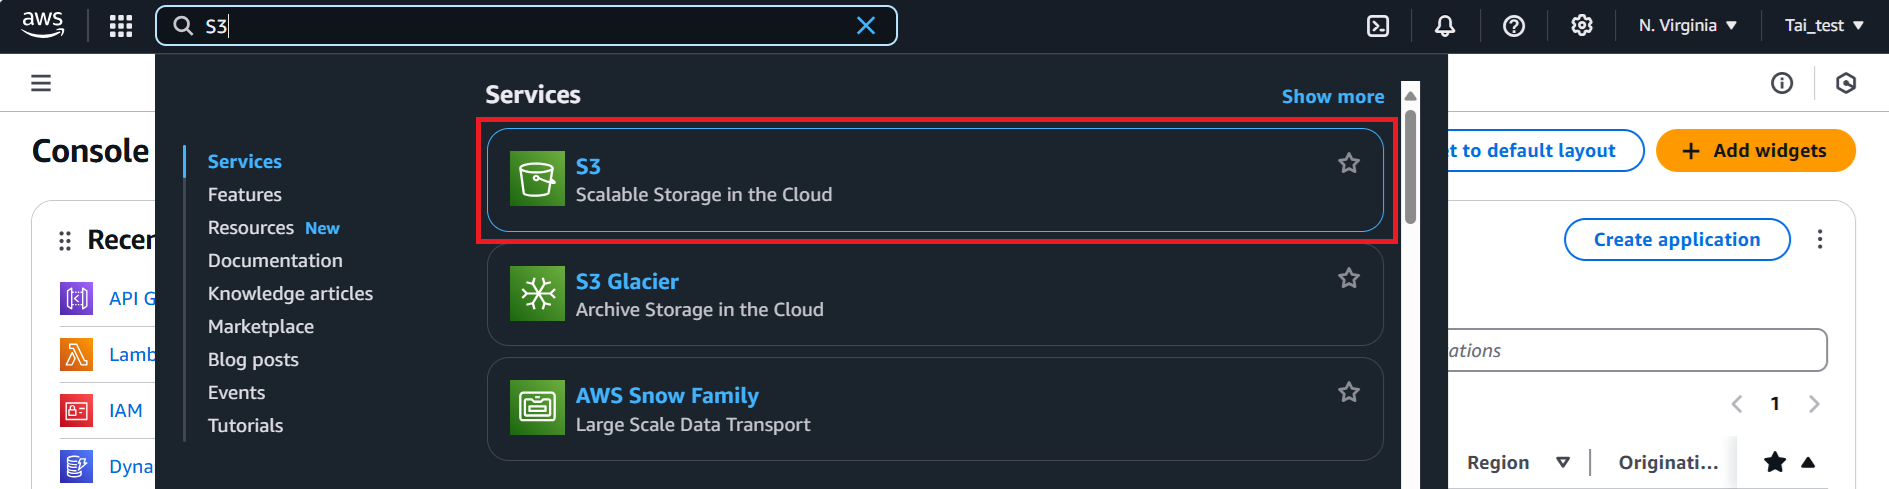
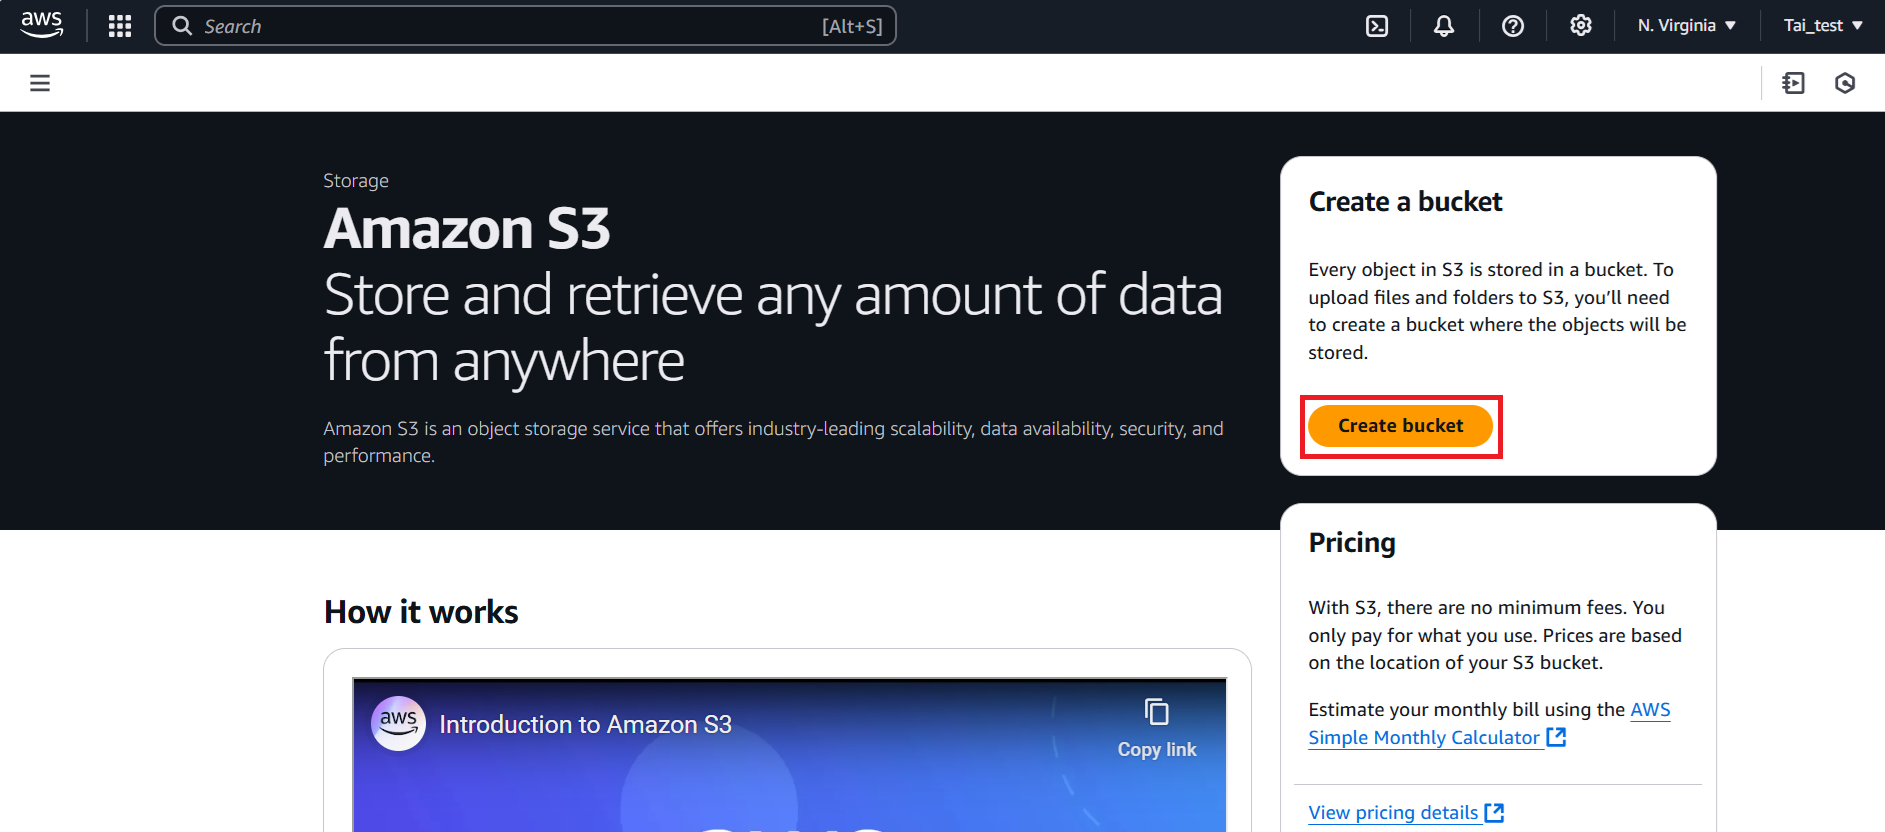
- In the S3 console, click on the Create bucket button.
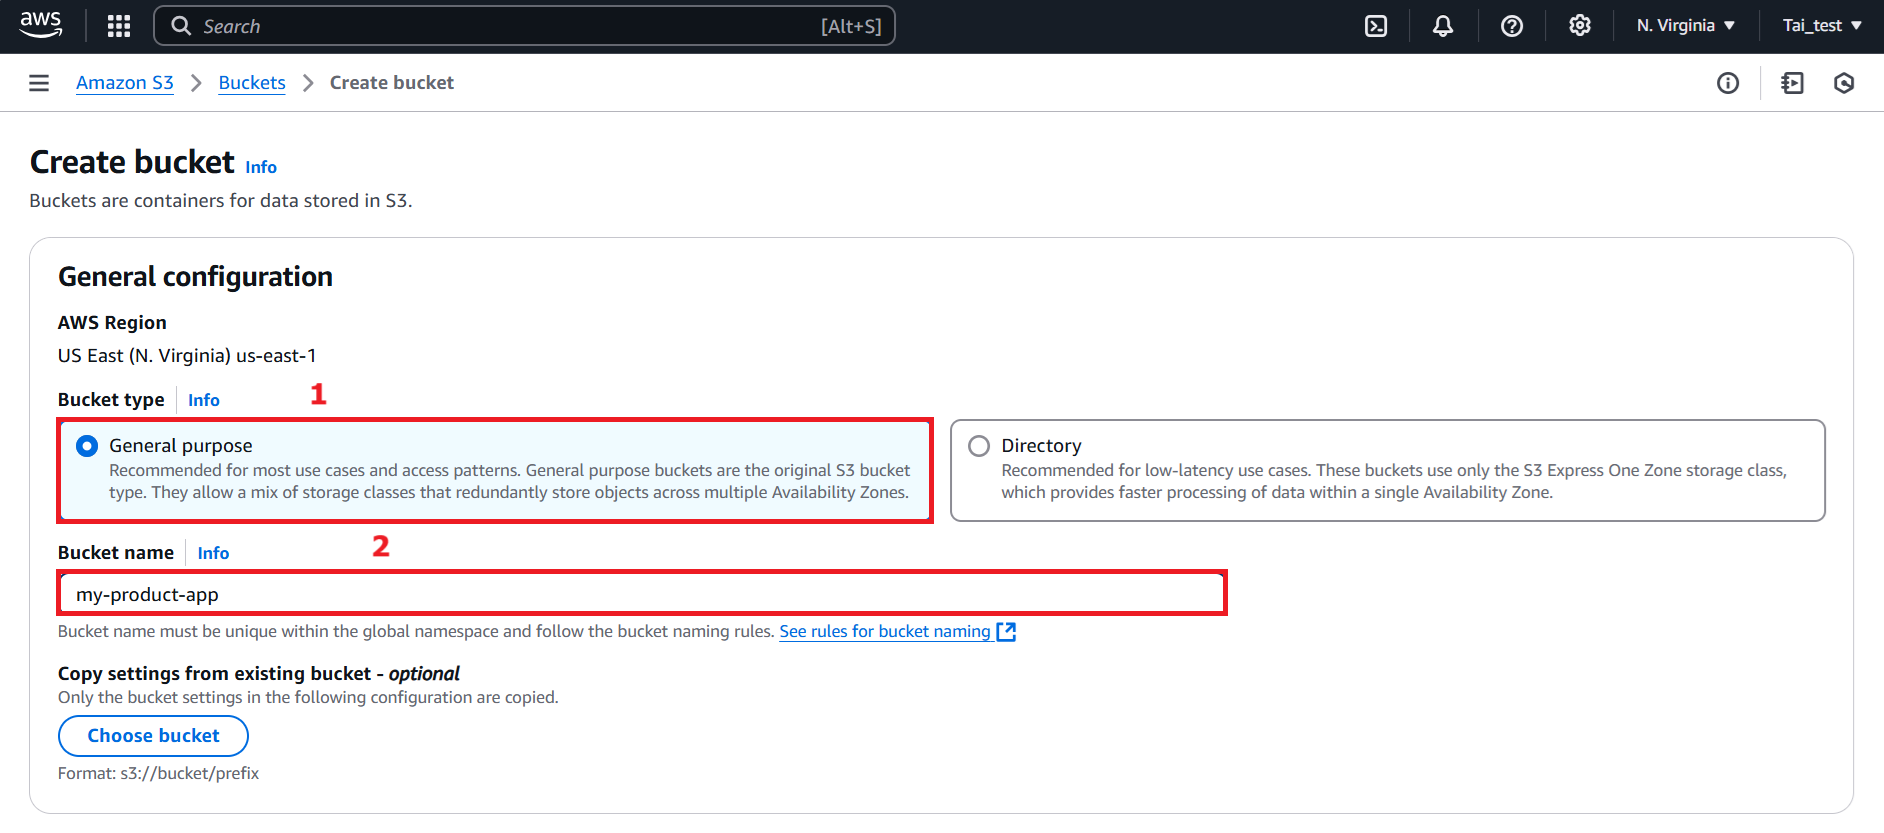
- In the Create bucket, provide the following details:
-
In the General configuration section:
-
Bucket type: Select General purpose.
-
Bucket Name: Enter a name for your bucket, such as
my-product-app.
-
-
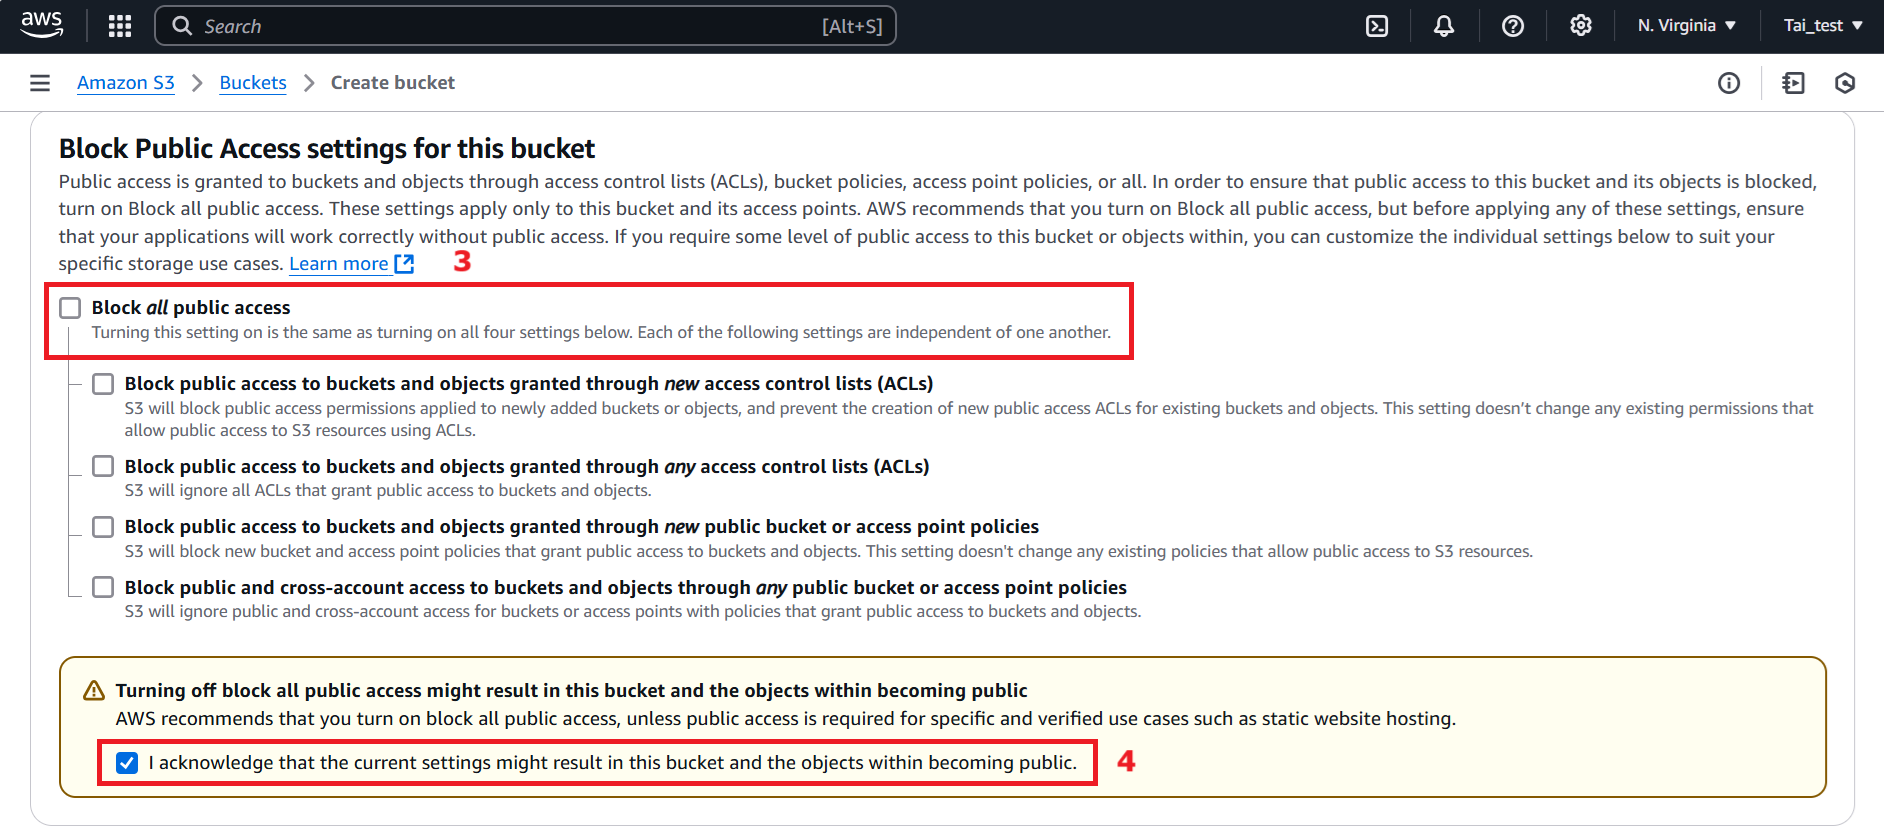
In the Block Public Access settings for this bucket section:
-
Uncheck Block all public access.
-
Turning off block all public access might result in this bucket and the objects within becoming public: Select I acknowledge that the current settings might result in this bucket and the objects within becoming public.
-
-
Scroll down and Click Create bucket button to proceed.
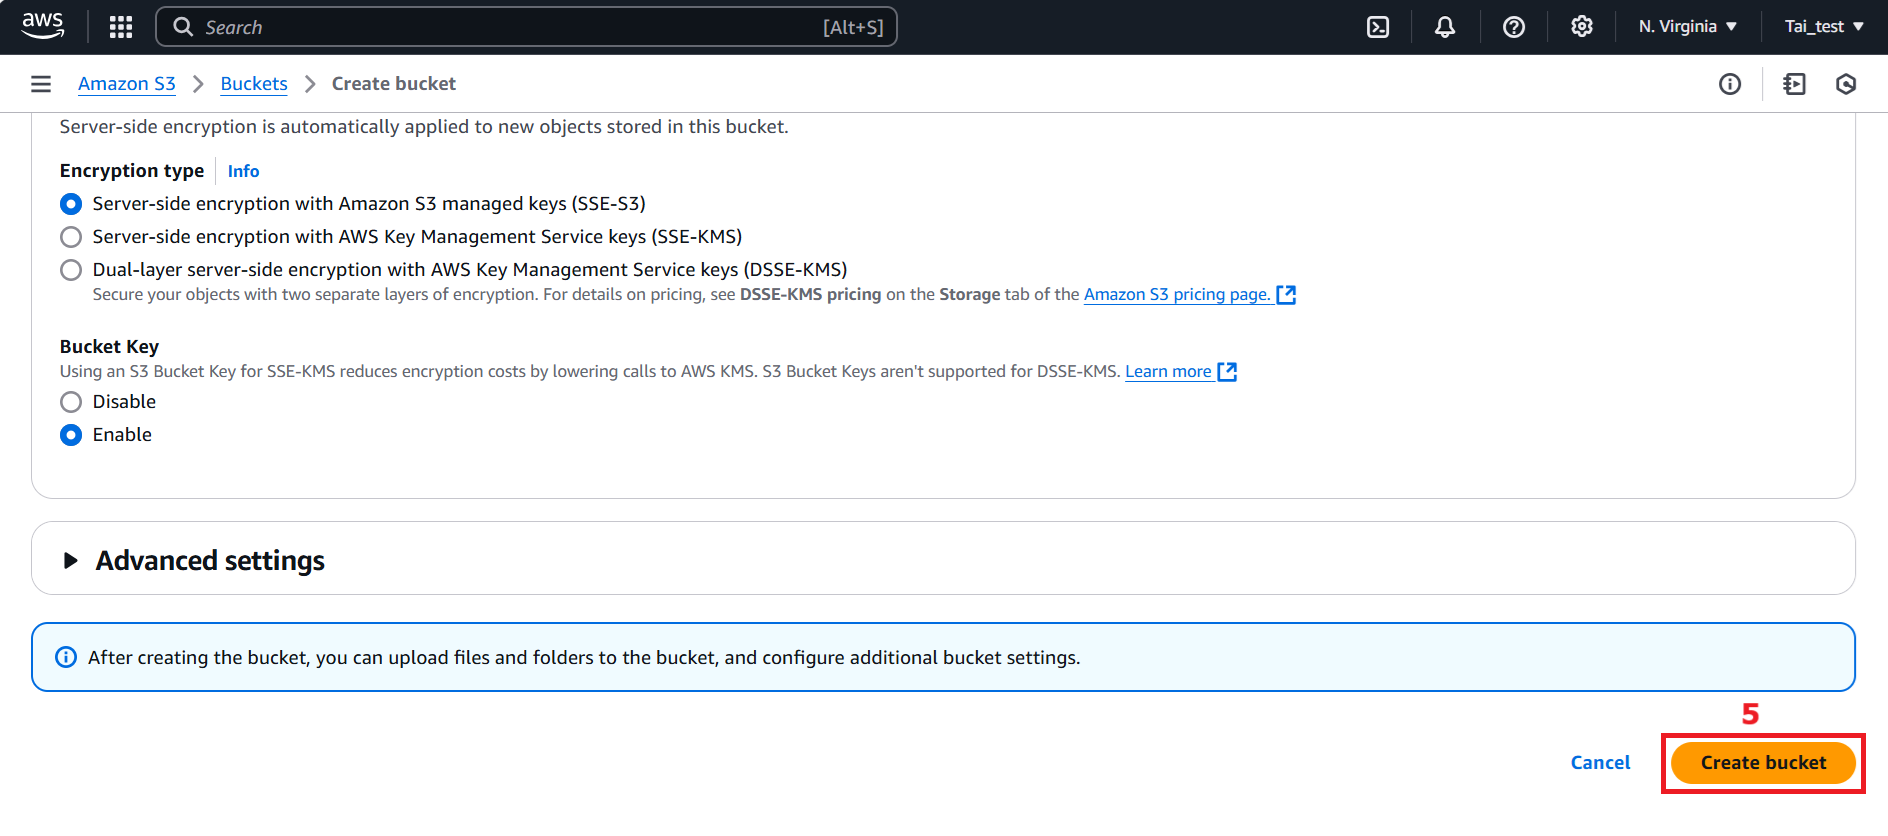
- After creating the bucket, a confirmation message will appear at the top of the screen: Successfully created bucket.
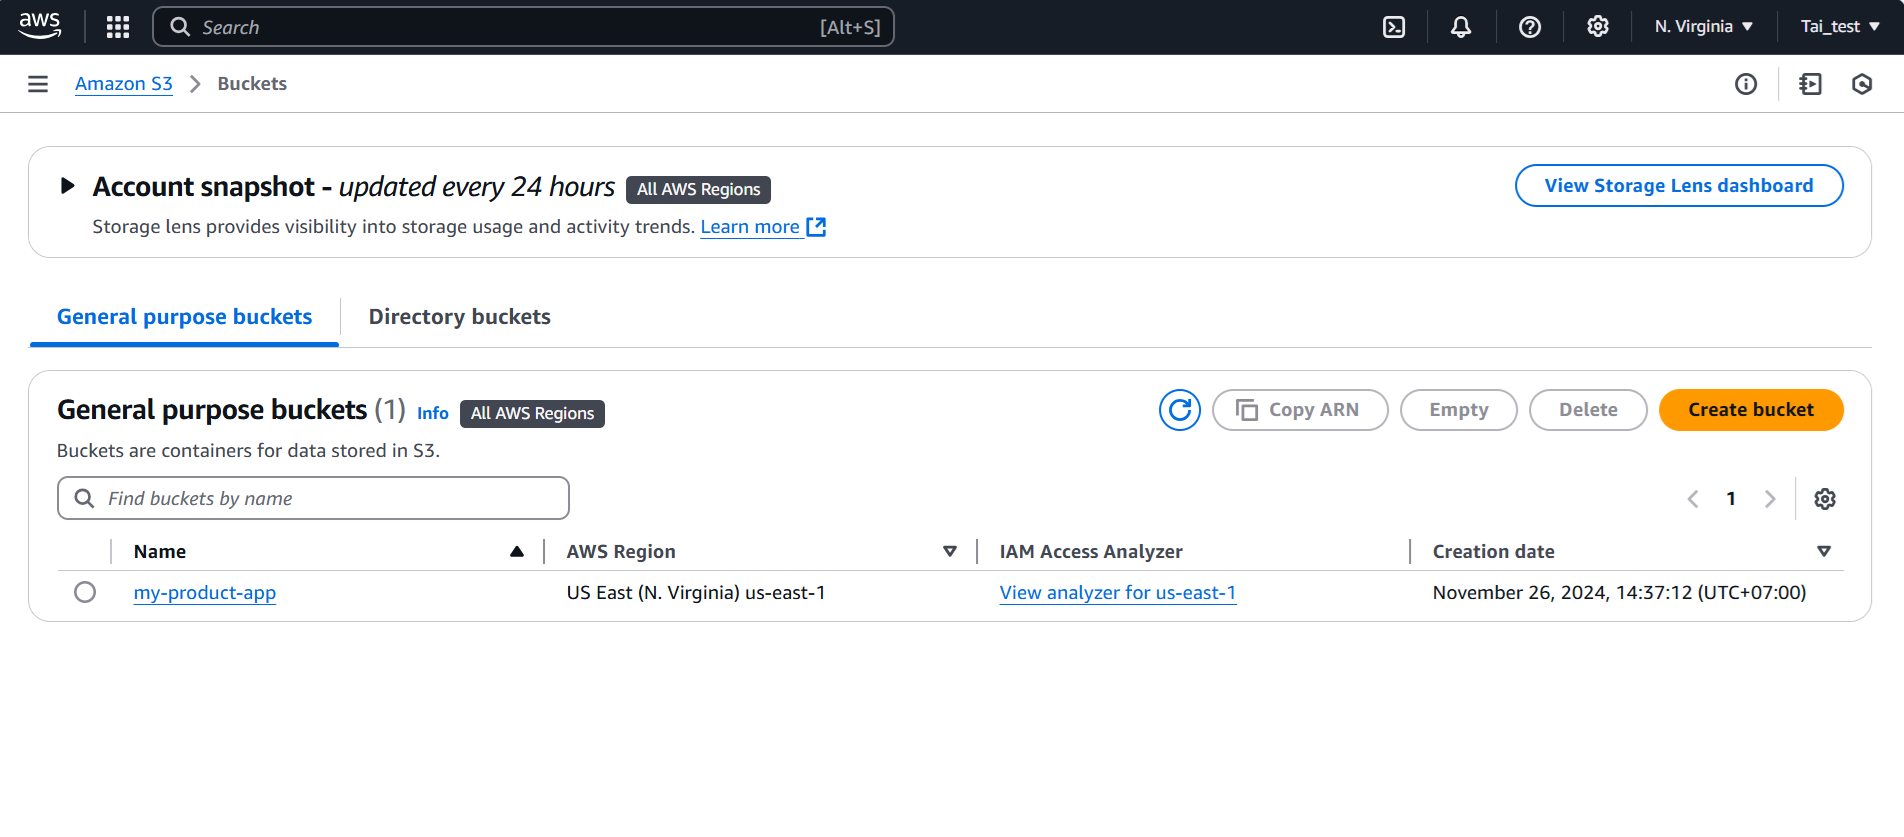
- In the my-product-app section created, navigate to the Properties section.
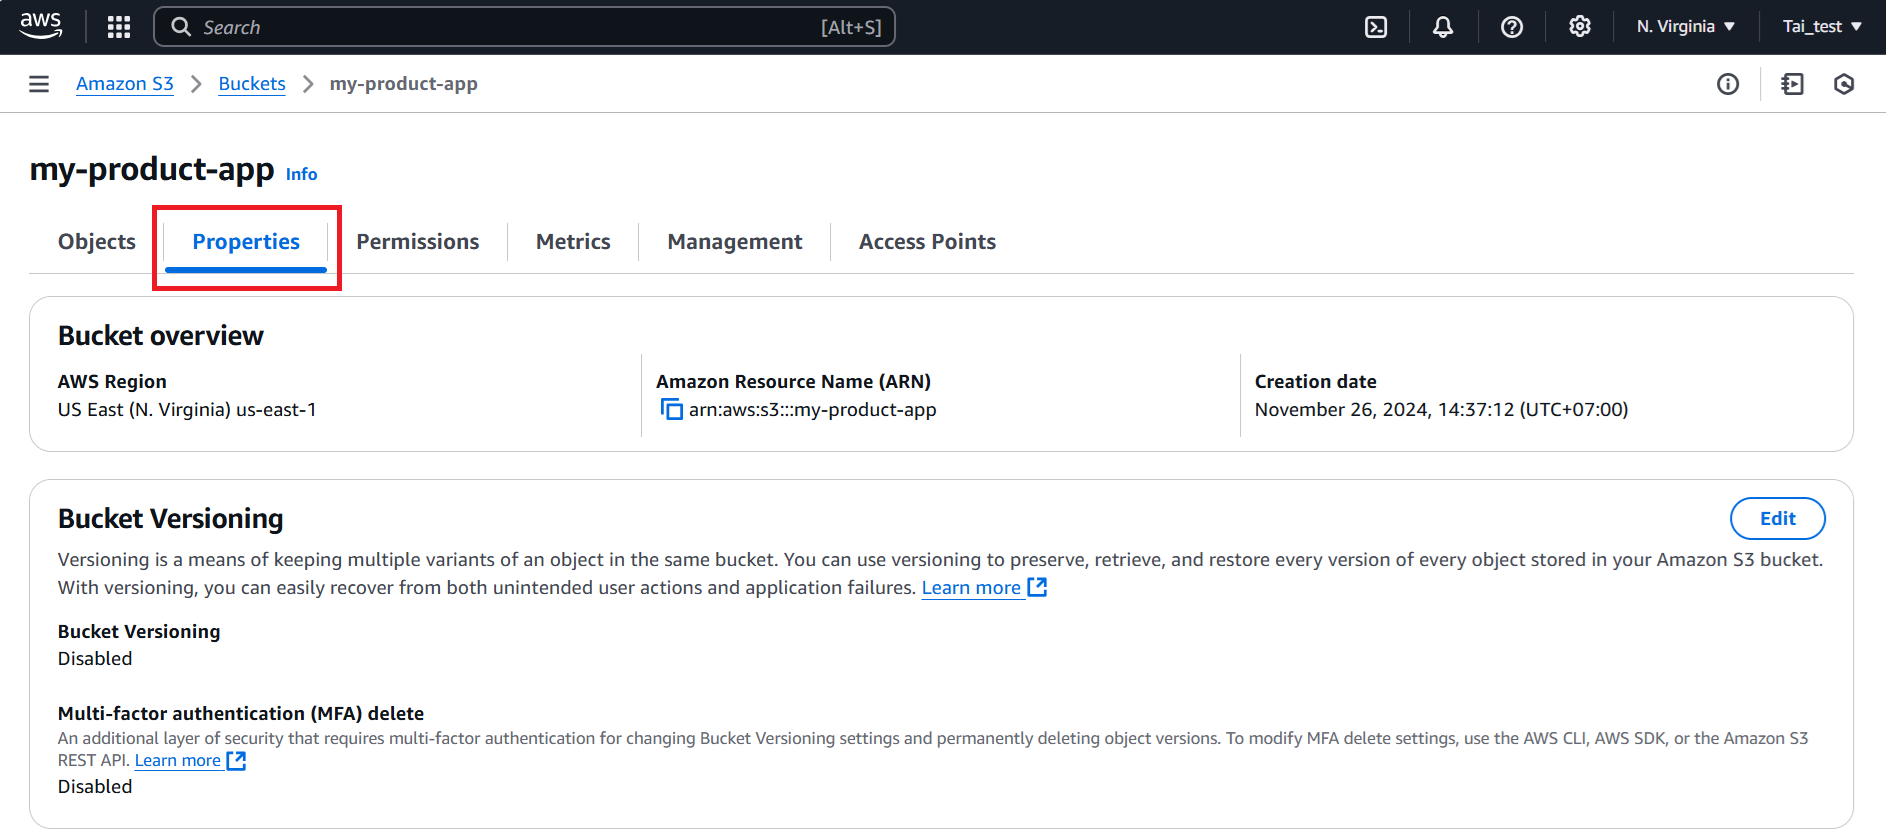
- Scroll down to the Static website hosting section, click Edit button.
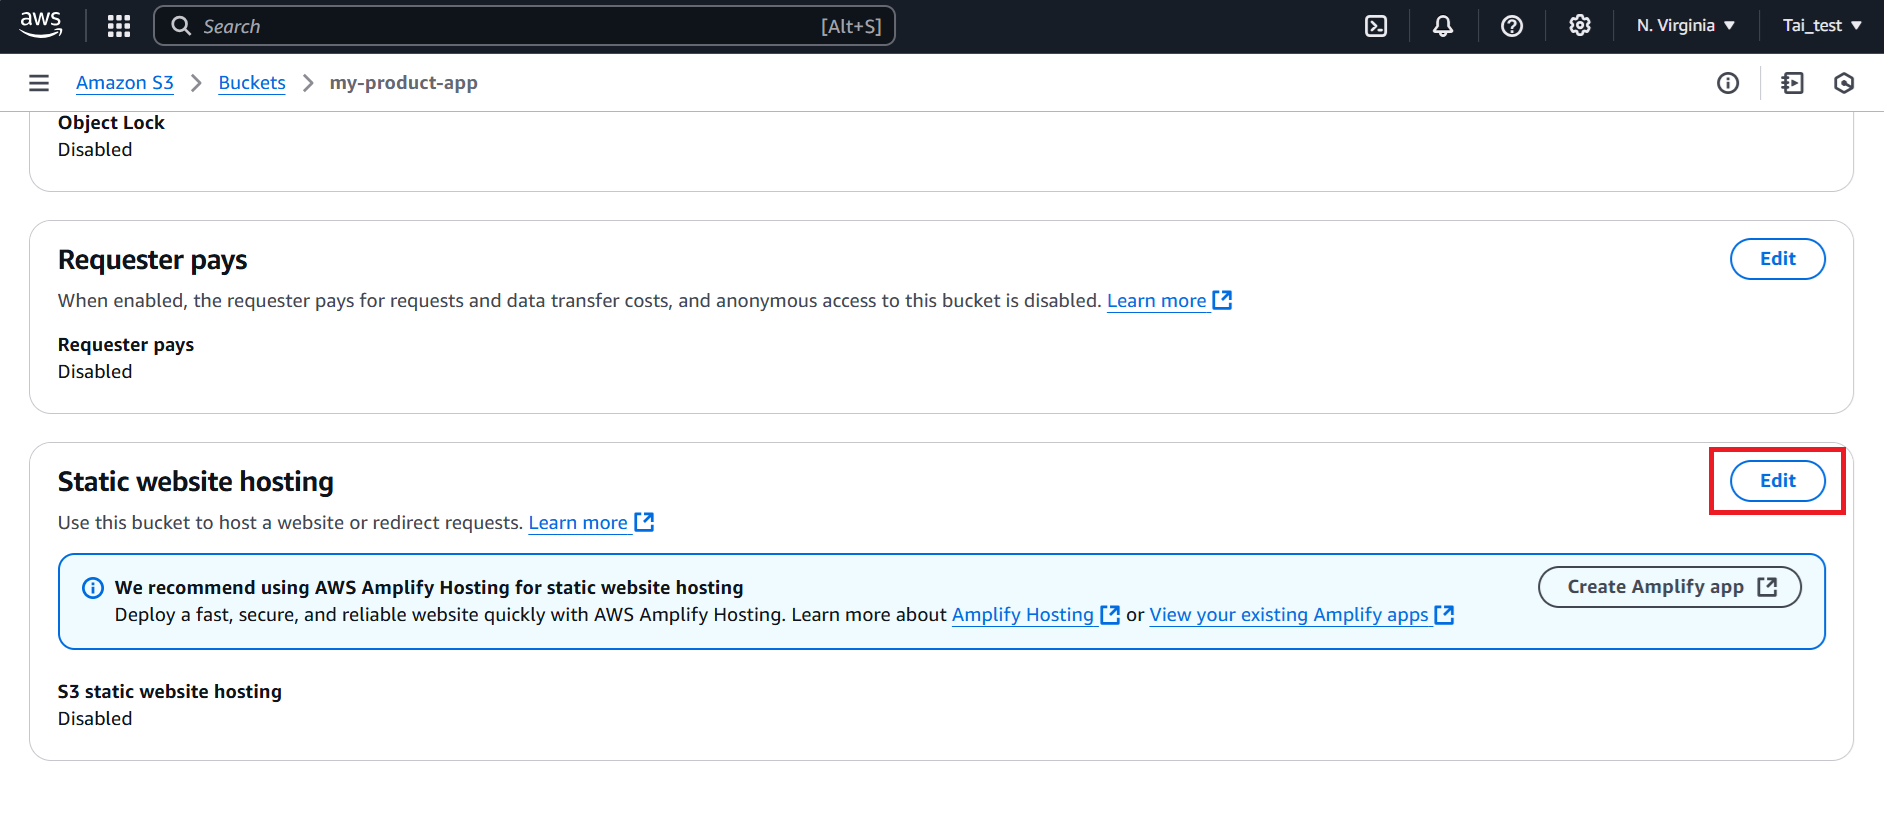
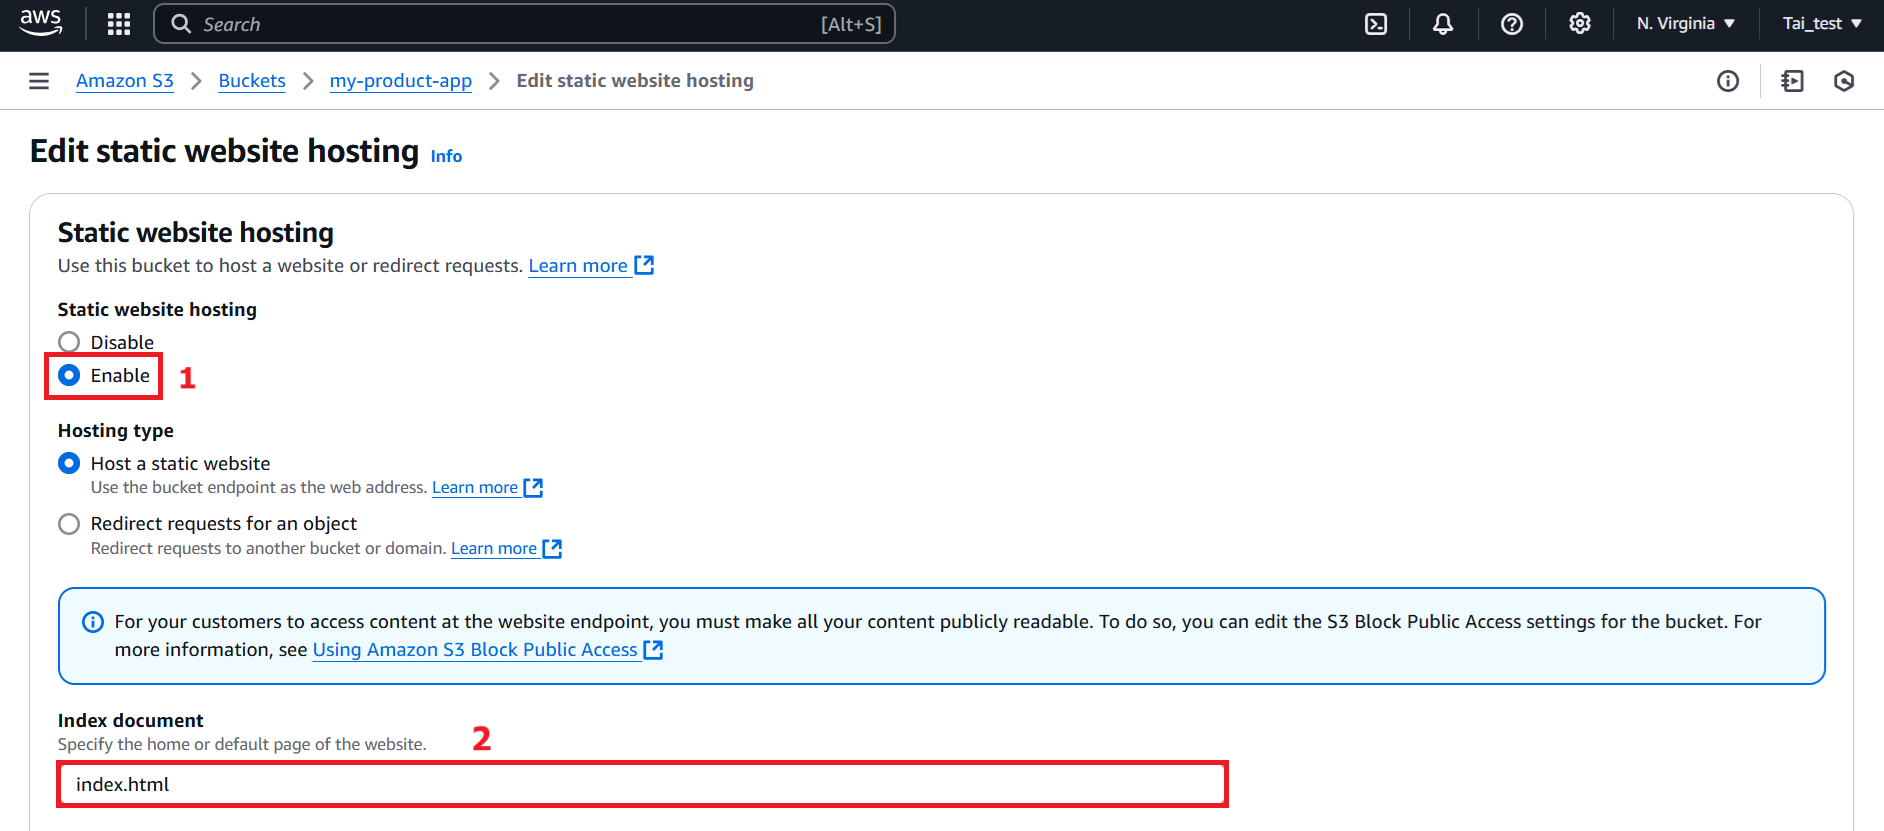
- In the Edit static website hosting section, provide the following details:
-
Static website hosting: Select Enable.
-
Index document: Enter
index.html. -
Error document: Enter
error.html(or leave blank) as the Error document. -
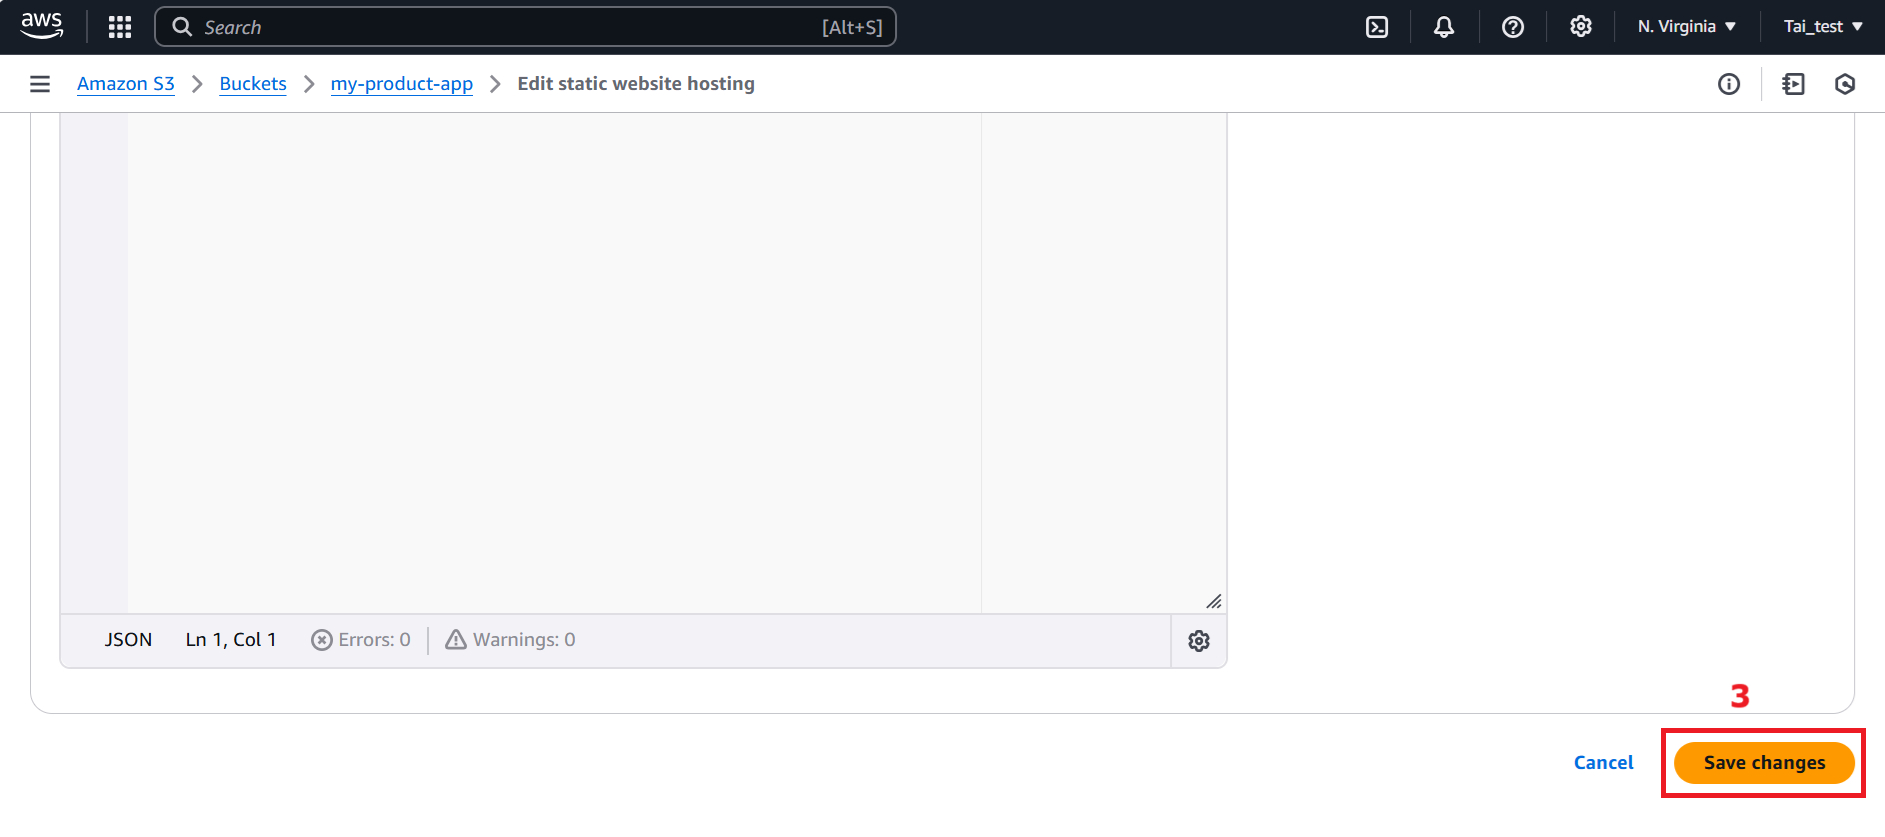
Scroll down and click Save changes button.
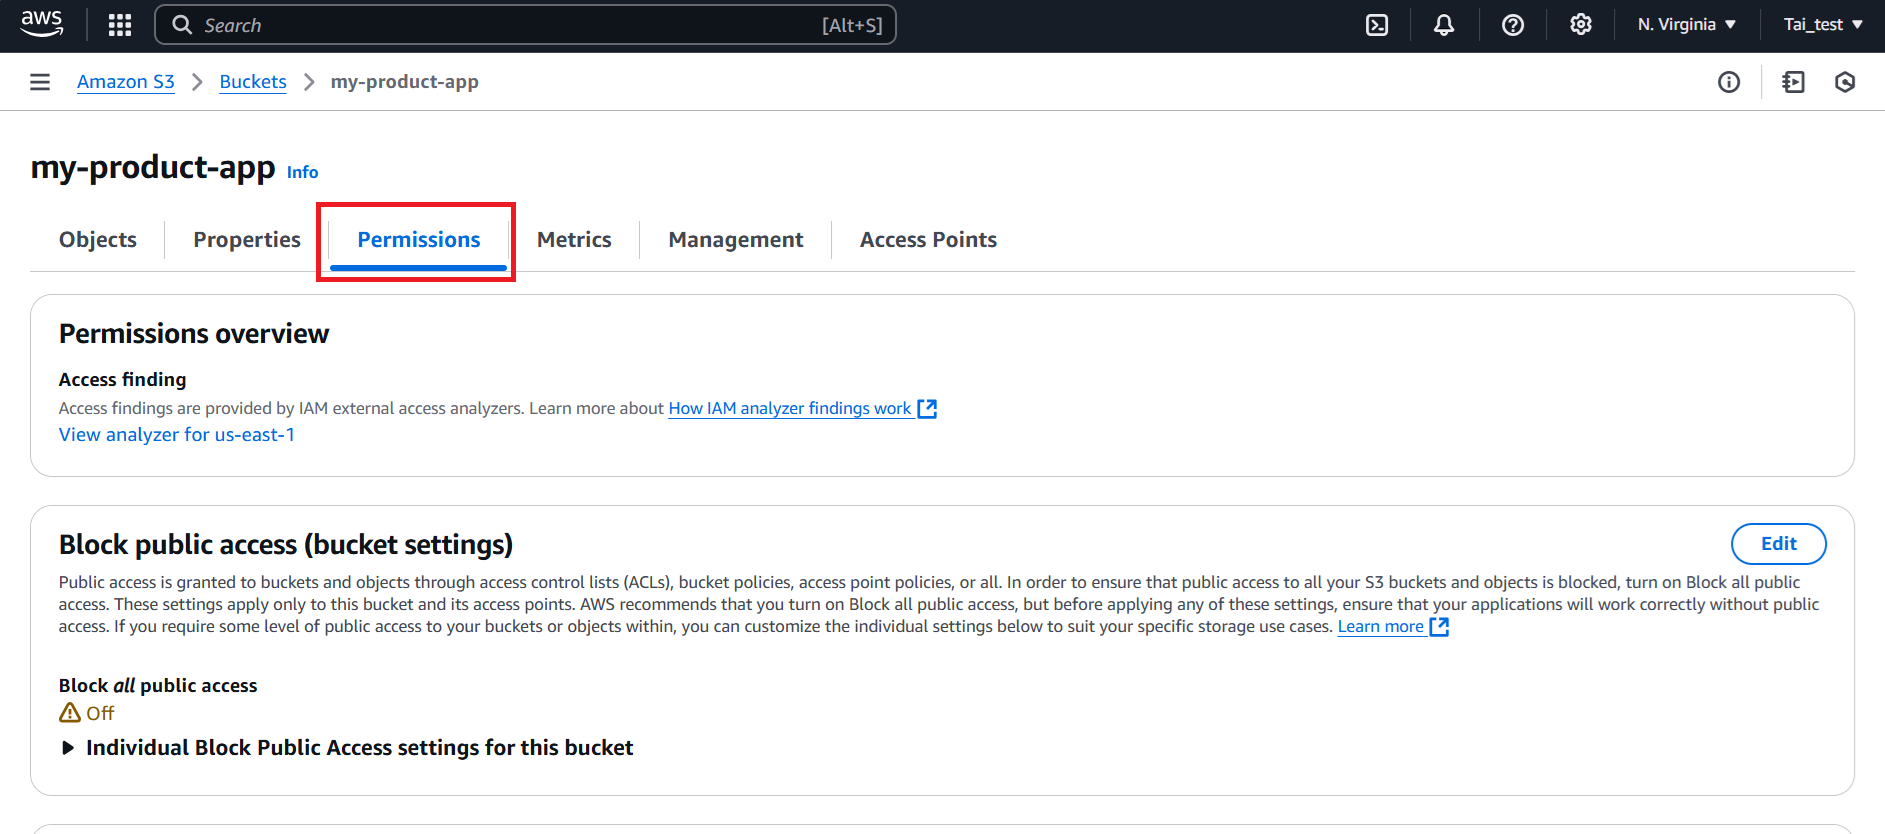
- In the my-product-app section, navigate to the Permisstions section.
- Scroll down to the Bucket policy section, click Edit button.
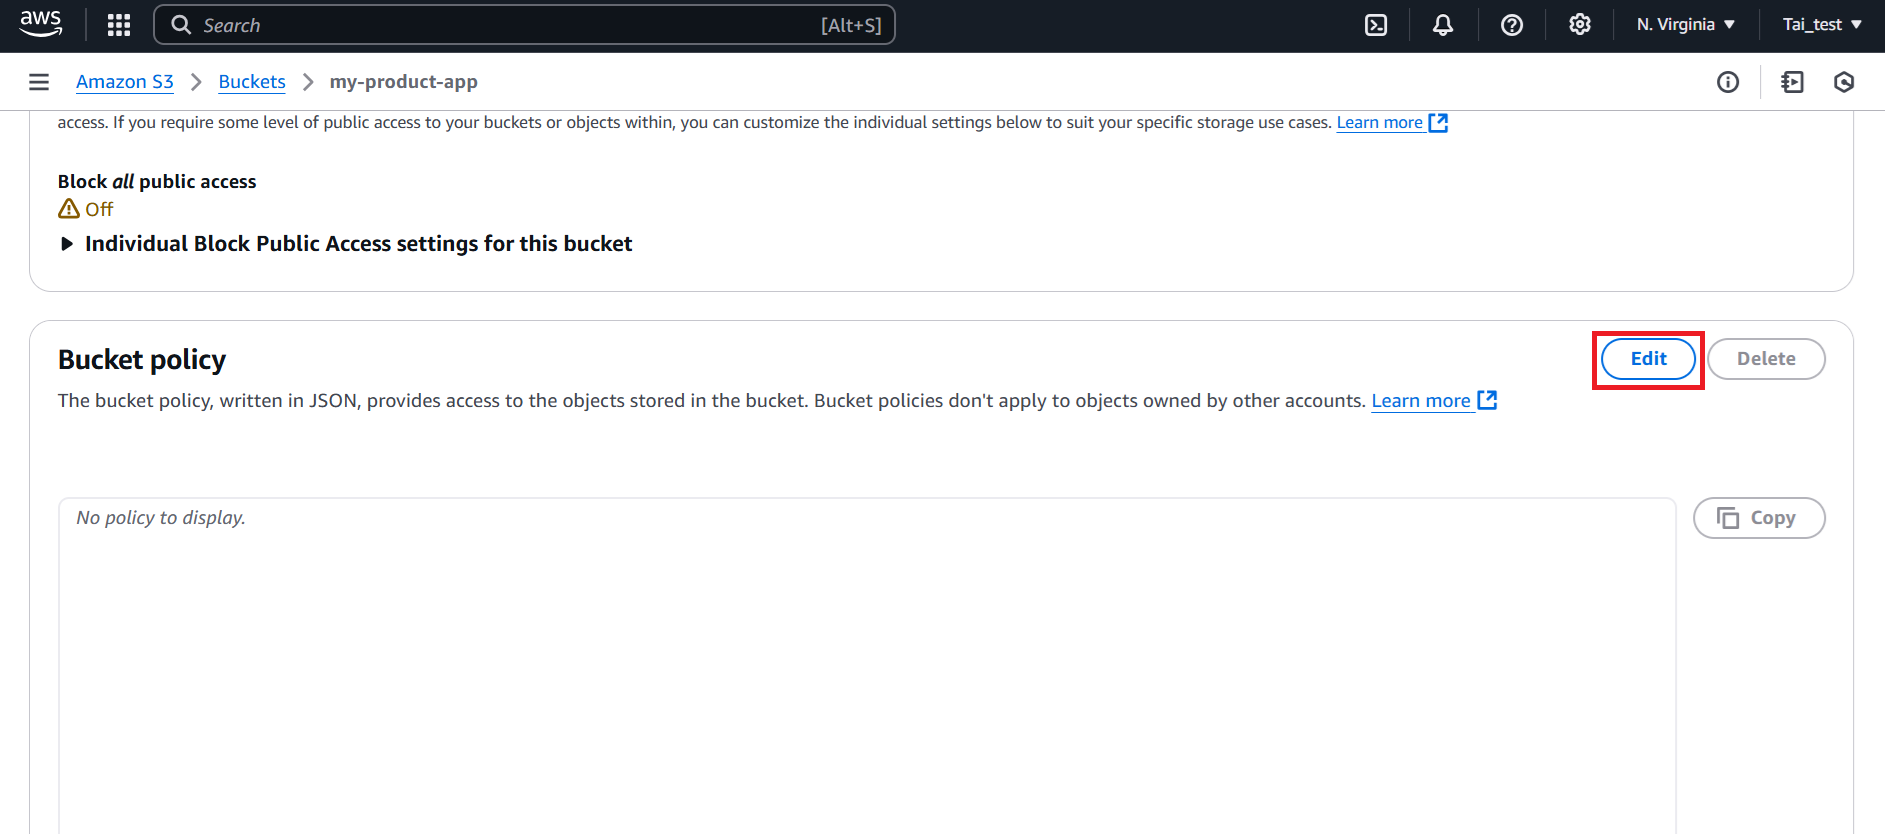
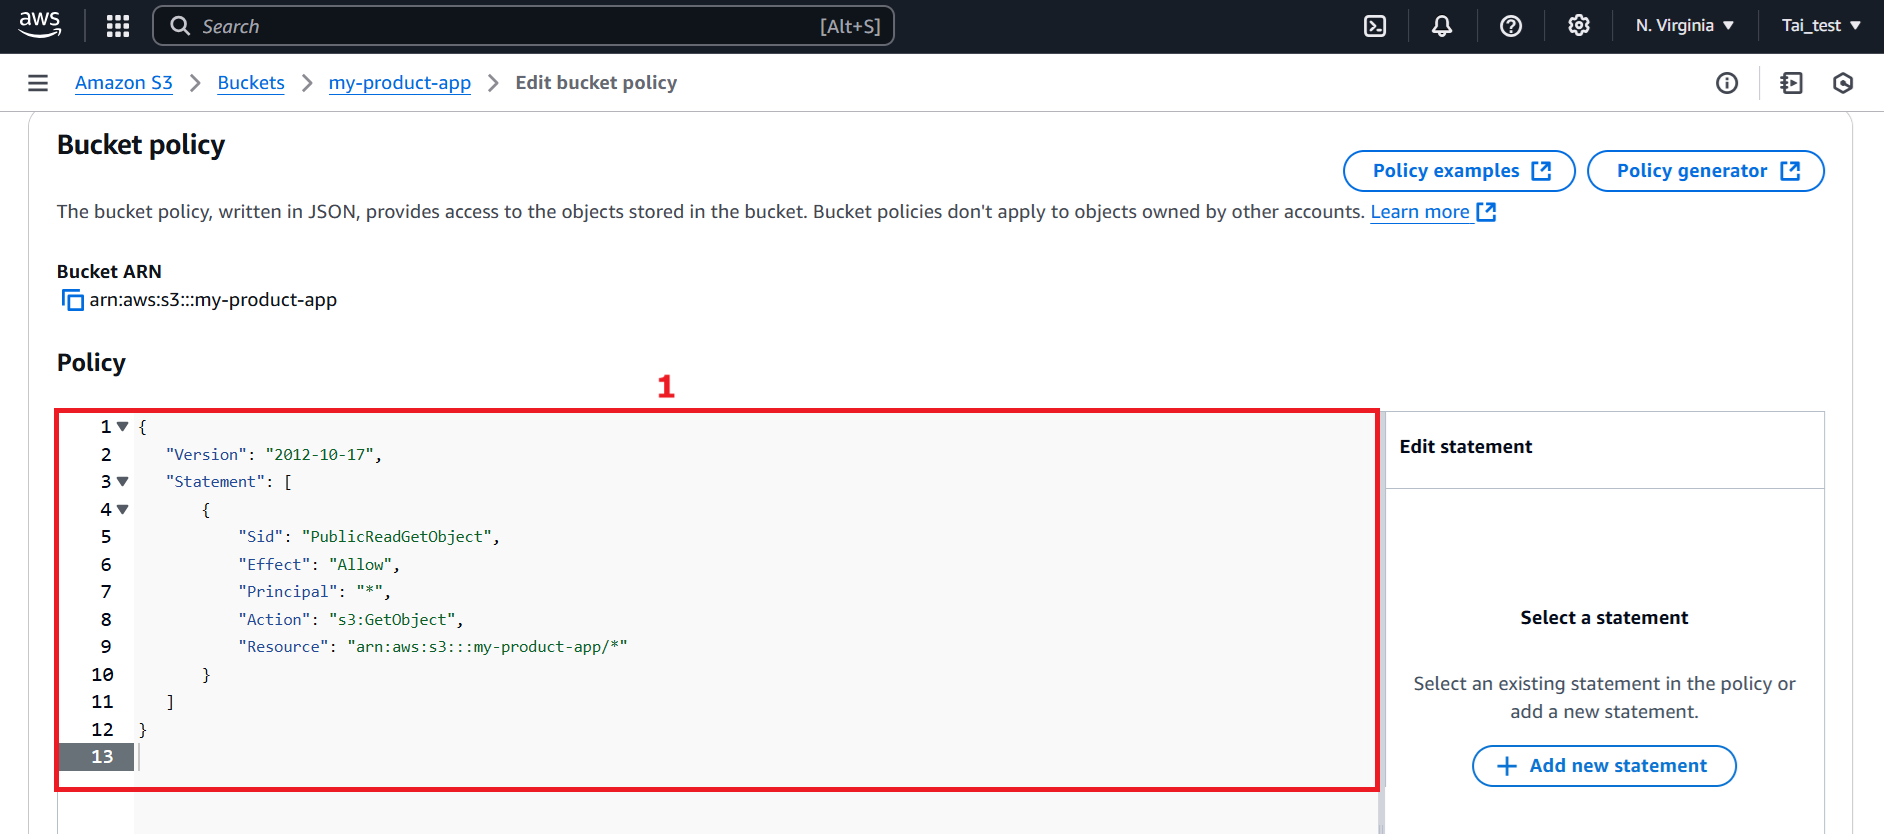
- In the Bucket policy section, provide the following details:
-
In the Policy section, add the following policy to allow public read access:
{
   "Version": "2012-10-17",
   "Statement": [
       {
           "Sid": "PublicReadGetObject",
           "Effect": "Allow",
           "Principal": "*",
           "Action": "s3:GetObject",
           "Resource": "arn:aws:s3:::my-product-app/*"
       }
   ]
}
Replace my-product-app with your correct bucket name.
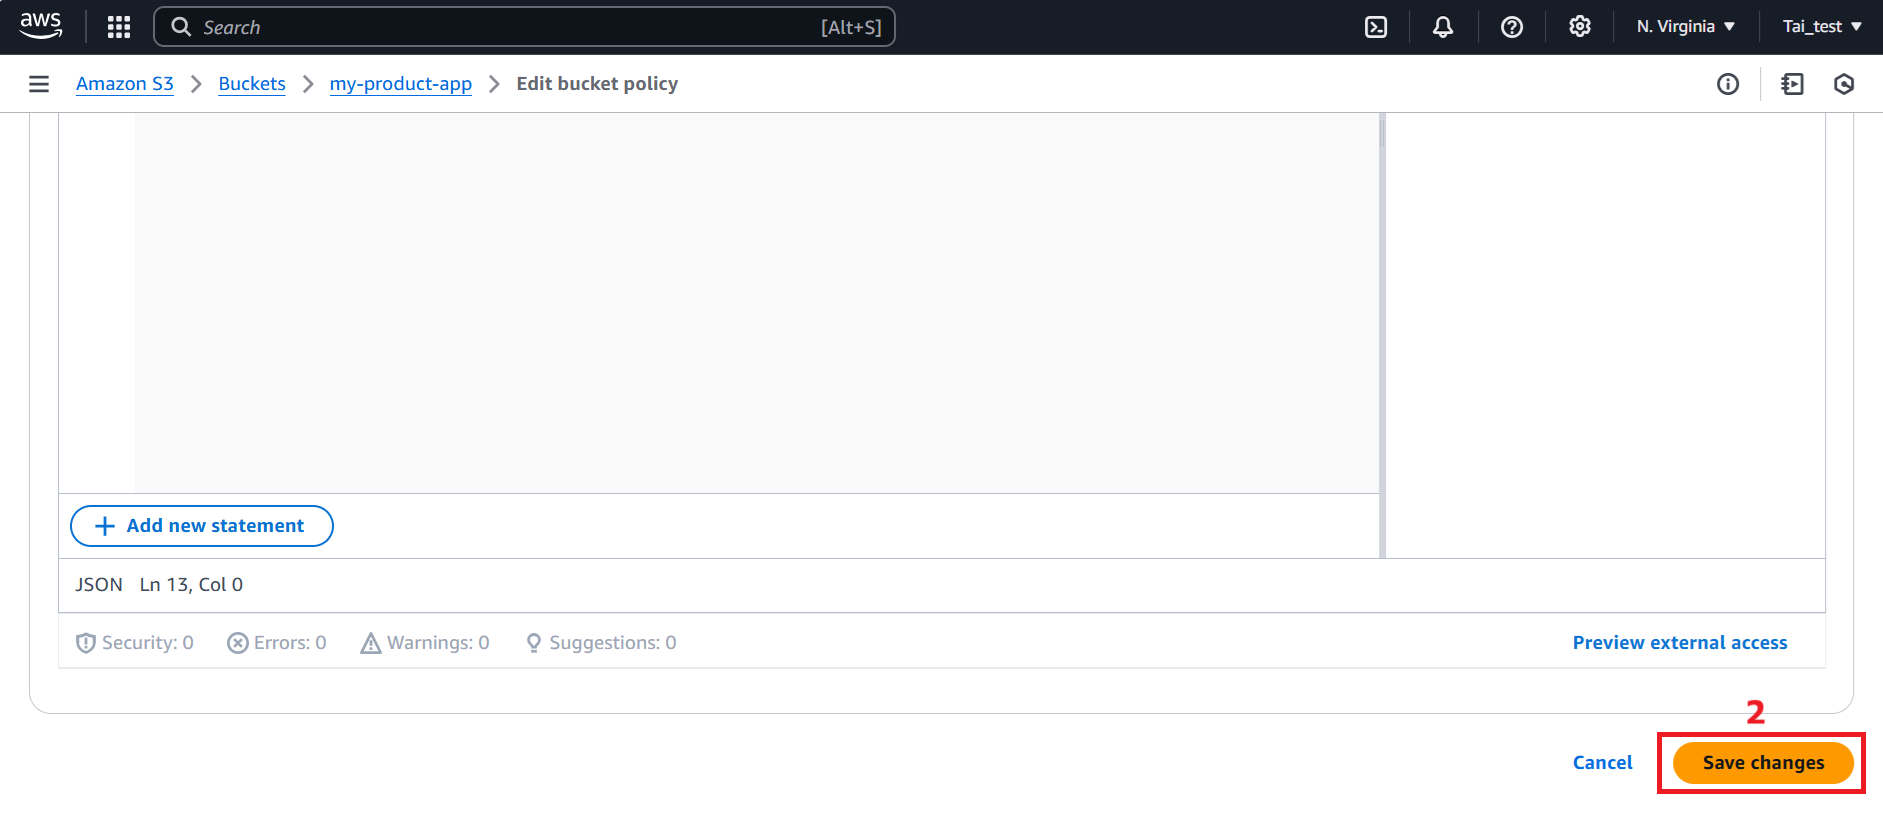
- Scroll down and click Save changes button.
- We have completed creating S3. Next we will load data.